Flare से assets bridge करें
Verified route चुनें, live quote review करें, सुरक्षित sign करें और delivery track करें।
अंतिम अपडेट: 19 जुल॰ 2026
Bridge supported assets को Flare से verified destination network पर ले जाता है। यह non-custodial है: FTSOBest route तैयार और verify करता है, लेकिन approval और on-chain signature तक assets आपकी wallet में रहते हैं।
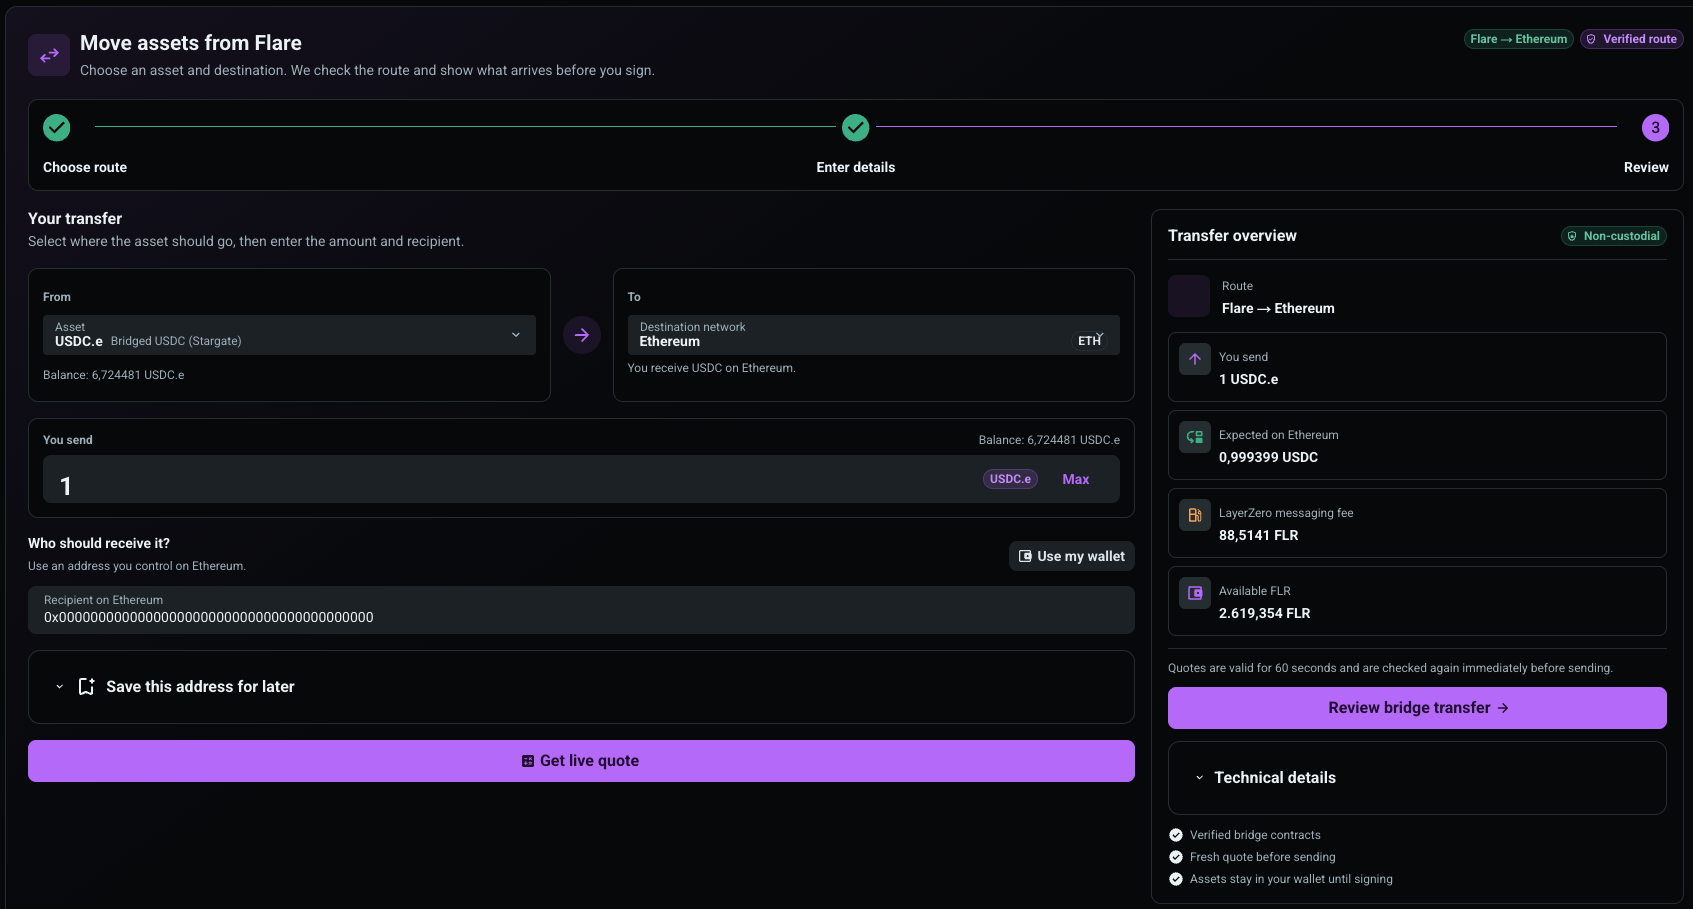
- Wallet Center खोलकर Bridge चुनें।
- Wallet connect करें और Flare selected होने की पुष्टि करें।
- Asset selector से asset चुनें।
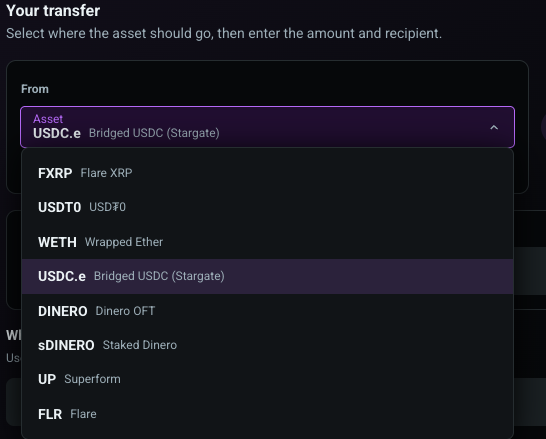
अभी FXRP, USD₮0, WETH, USDC.e, DINERO, sDINERO, UP और native FLR supported हैं। हर asset का verified contract और destination list अलग है।
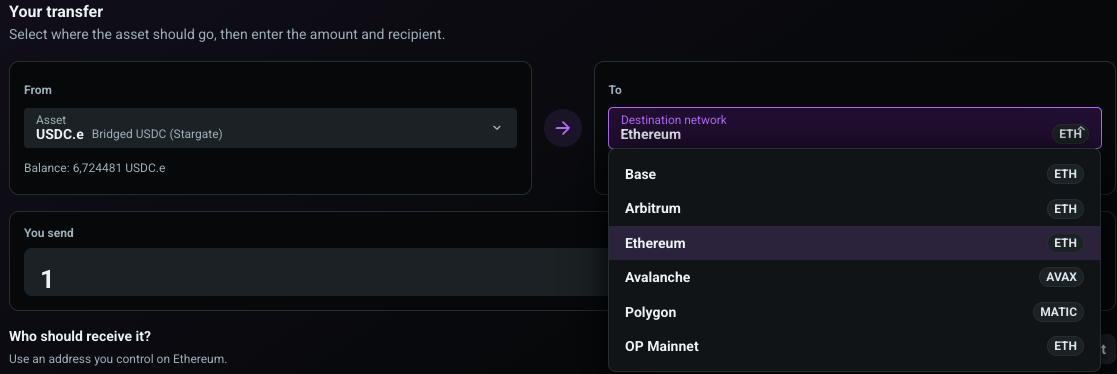
Destination list selected asset के अनुसार बदलती है और केवल enabled routes दिखाती है।
Amount भरें या Max उपयोग करें। Destination network पर अपने नियंत्रण वाला EVM address दर्ज करें। “Use my wallet” connected address भरता है। Trusted address को label के साथ save भी कर सकते हैं।
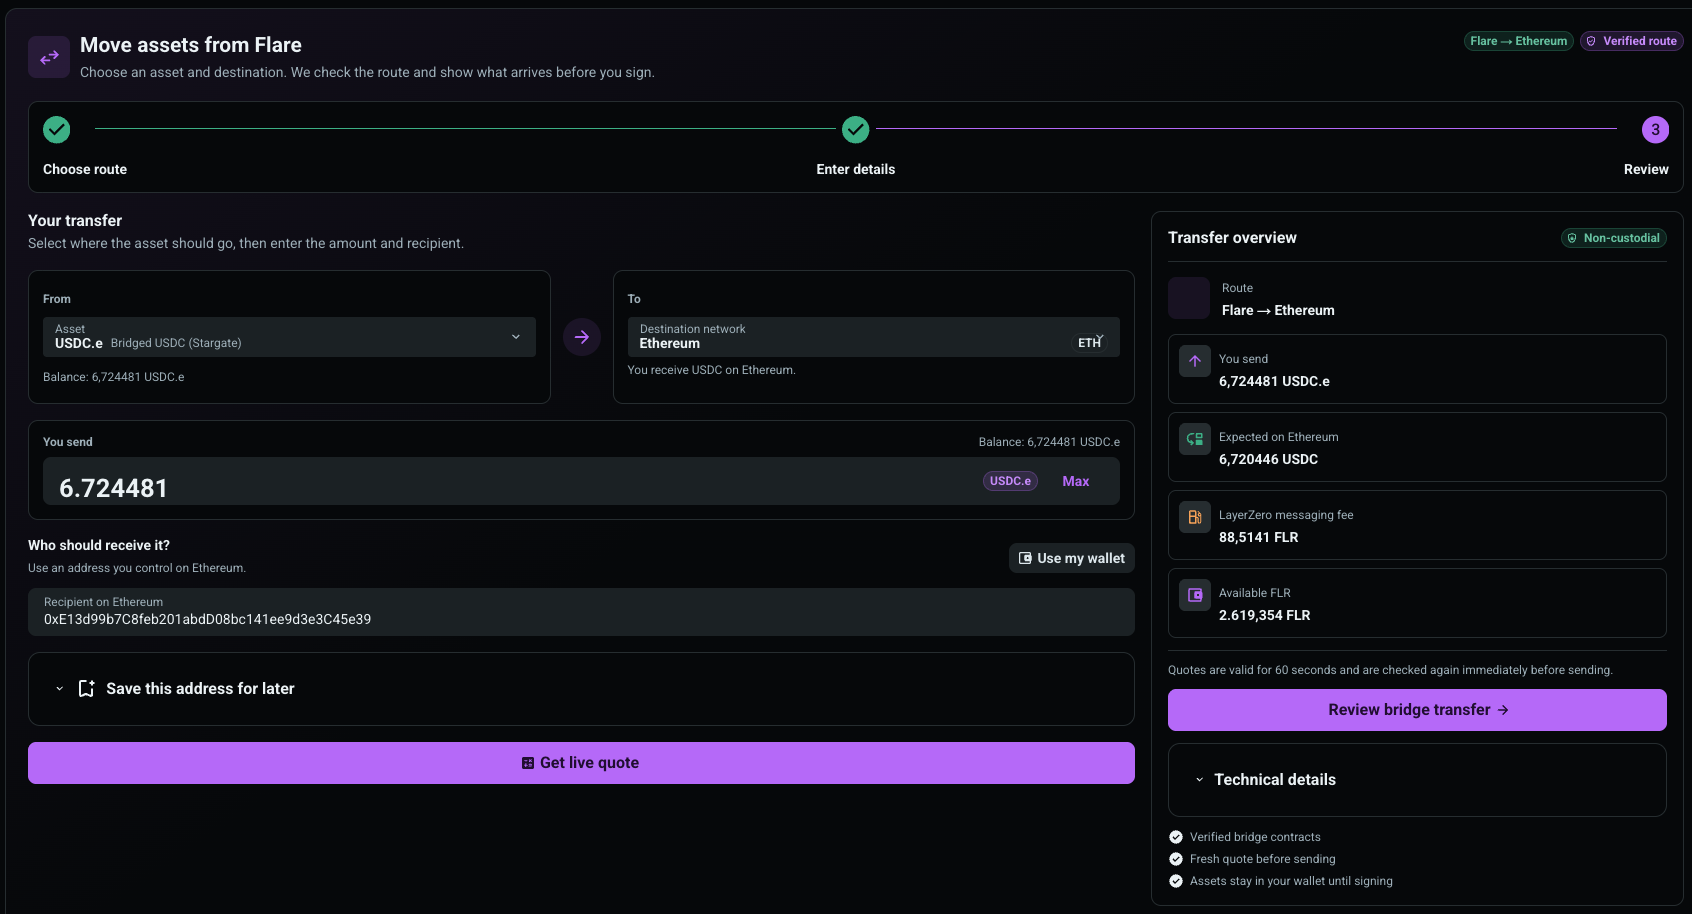
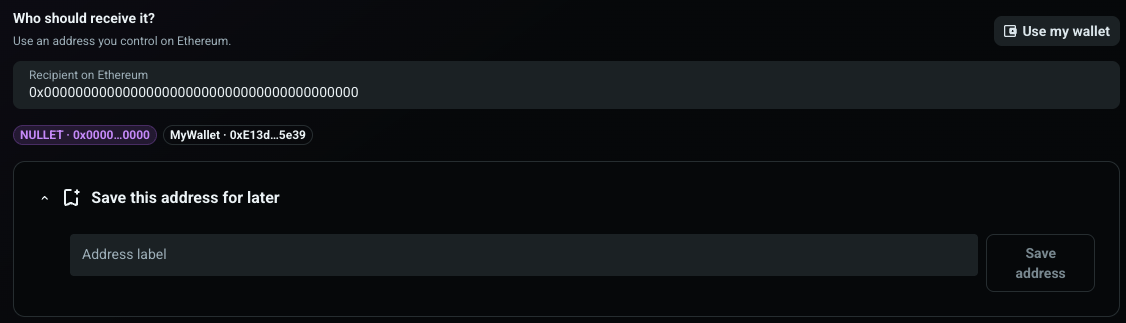
Deposit या contract address तभी उपयोग करें जब receiving service इस exact asset और route की पुष्टि करे।
“Get live quote” चुनें। Route, destination asset, send amount, expected output, FLR में LayerZero fee और available FLR दिखेंगे।
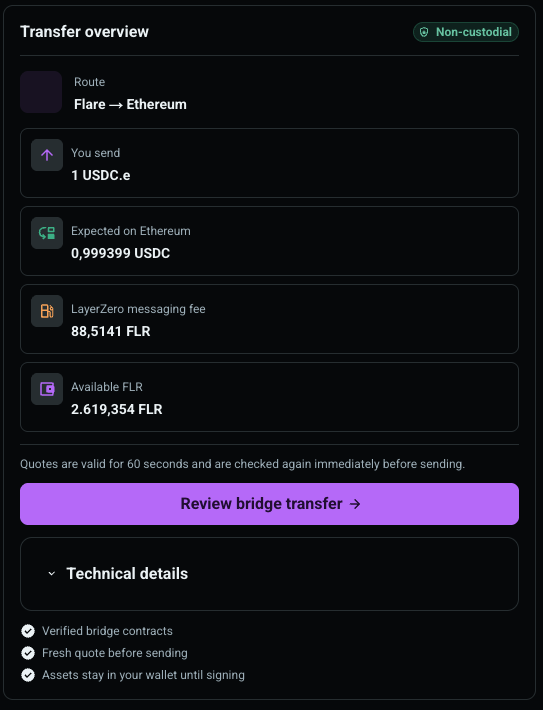
Quote 60 सेकंड valid है और send से पहले फिर check होता है। Fee बढ़ने या output घटने पर flow review पर लौटता है।
Final review खोलें। Allowance कम होने पर FXRP, WETH और USDC.e exact amount ERC-20 approval मांग सकते हैं। Approval के बाद quote refresh, call simulation और फिर wallet signature होती है। कोई write automatic retry नहीं होता।
Flare confirmation के बाद transfer recent history में आता है। Reload के बाद pending transfer update होता रहता है और source transaction, LayerZero Scan तथा destination transaction links देता है।

Delivery asynchronous है; LayerZero verification और destination execution में समय लग सकता है।
- LayerZero fee और Flare gas के लिए पर्याप्त FLR रखें।
- हर signature से पहले asset, network, recipient, output और wallet prompt verify करें।
- Expired quote दोबारा load करें।
- Pending होने पर पहले LayerZero Scan देखें; balance delay के कारण तुरंत दूसरी बार न भेजें।
- History signed-in wallet और environment के अनुसार अलग है; local और live transfers एक-दूसरे में नहीं दिखते।